It’s inevitable to migrate your websites from one server to another due to operating system upgrades. I have recently worked on migrating a website from Windows Server 2008 R2 to Windows Server 2016. You will find different ways of performing this migration by using Web Deploy.
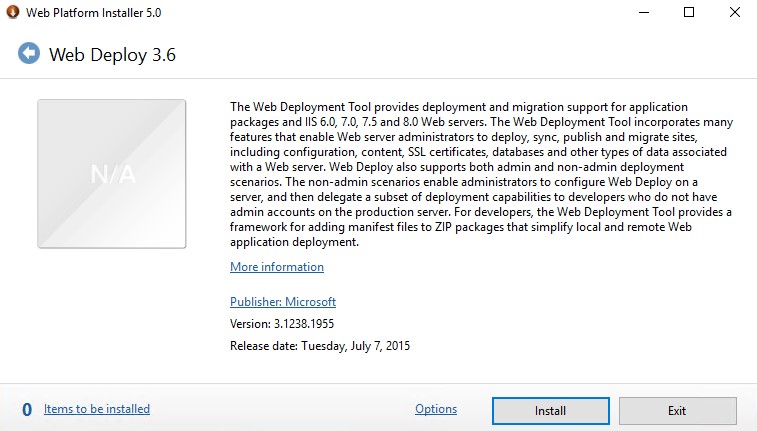
Web Deploy is the shorter version for Web Deployment Tool. You can get this tool by using Web Platform Installer (More Information)or you can download and install the standalone exe file (Link). We leverage this tool by calling msdeploy in the Command Prompt.
Not happy with your IIS server’s performance but also you don’t want to migrate your sites? Here are tips to improve IIS performance: 9 Easy and Practical Recommendations to Improve IIS Performance
Migrate websites using Web Deploy (msdeploy)
Before using msdeploy to migrate a site, check the dependencies (Reference). Based on the output of the command below, you may need to take some actions in the target server first such as creating an application pool :
msdeploy -verb:getDependencies -source:apphostconfig="Default Web Site"1. Live sync: Try live syncing the website first. You can push the site from a source server or you can pull it from the target server (Reference). In the sample Command Prompt line below, we are pushing/syncing the site from the server in which we run this command to the Server1:
msdeploy -verb:sync -source:apphostconfig="Default Web Site" -dest:apphostconfig="Default Web Site",computername=Server12. Offline sync: If live sync fails for a reason such as connection issues between servers or file size is over 4GB, you can use offline sync (Reference). We are basically packaging the site in one server and importing this package to another server. I saw folks migrating sites as big as 200GB by using this method.
msdeploy -verb:sync -source:apphostconfig="Site1" -dest:archivedir=c:\archive
msdeploy -verb:sync -source:archivedir=c:\archive -dest:appHostConfig="Site1",computerName=NewServer
3. IIS settings only: You can also sync only IIS settings by using msdeploy. In this case, you will need to copy the content manually.
msdeploy -verb:sync -source:webserver -dest:package=c:\folder\package.zip -disableLink:ContentOnce you create a package, you can import it by using Import link in IIS Manager (This link shows up only if you install Management Service through Server Manager and IIS Deployment Handler through Web Deploy installation).
After the migration, double-check your site’s binding and test if the site is accessible.
For more features, you can use Web Deploy 4 which is installed with Visual Studio 2017 or a newer version.
Prerequisites for Web Deploy
In order to import a site package, you will need to create the application pool (and app pool identity) in the destination server manually. Once there is an application pool, Web Deploy can create the site and site folder automatically. You don’t need to make changes to applicationHost.config manually. Web Deploy will add site/folder information automatically.
If you try to import a site package without creating the app pool first, it will give this error:
Error: The AppPoolNotFound dependency check found the AppPool ‘testsite2’ to be in use by the source data but not defined in source data or on the destination computer. Applications referencing this application pool will have configuration issues.
If you import a server package, Web Deploy creates everything including application pools, sites, and folders.
Notes:
- In order to do a smooth migration, please make sure all IIS modules (features under Web Server in Server Manager) that are installed in the source server are installed in the destination server as well
- Web Deploy can migrate the configuration but it doesn’t check compatibility of the configuration. If there is a config section that is supported in 2008 but not supported in 2016 or vice versa, the tool won’t make corresponding changes or it won’t show a warning
- Web Deploy does not move/create applicationHost.config or other config files under inetsrv/config folder. It goes into the existing config file and adds the information about the sites being imported. It’s not recommended to move applicationHost.config file from one server to another since this file has machine specific keys that won’t work in other servers.
Error “The property password is marked as secure”
You may come across this error message when you try to export a package: “The property password is marked as secure. You must specify an encryption password to archive this property”
In order to solve this issue, add this parameter to your export command: encryptPassword=MyPassKey. Make sure to use the same password while importing the package to the destination server.
Sample command (make sure to change MyPassKey to a password you want to use):
msdeploy -verb:sync -source:metaKey -dest:archivedir=c:\mydir,encryptPassword=MyPassKeyYou will need to export the package with the same password:
msdeploy -verb:sync -source:apphostconfig="Site1" -dest:archivedir=c:\archive,encryptPassword=MyPassKeyError “Invalid Index (0x80070585)”
Another issue I sometimes run into when using Web Deploy is this error: “Invalid Index (Exception from HRESULT: 0x80070585)”. It occurs while trying to import a package.
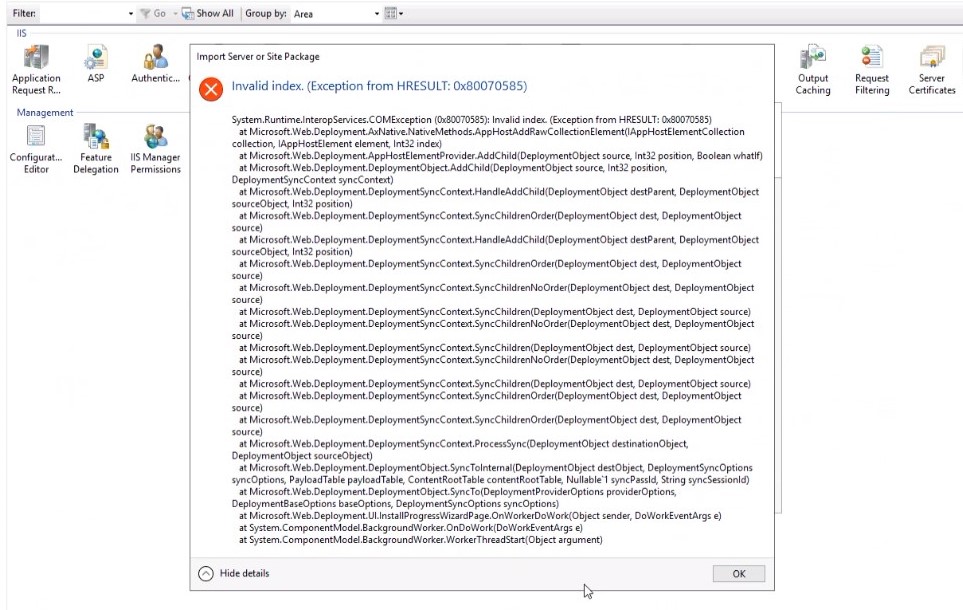
If you come across this same error message in IIS Manager, try to import the same package using Command Prompt or PowerShell. Look at the stack trace and find out exactly at which stage the import is failing.
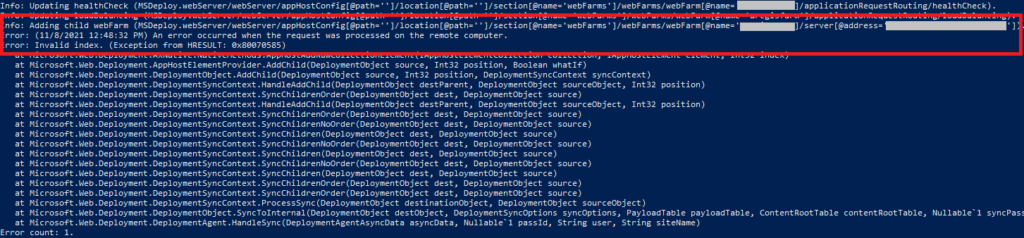
In this case, the import was failing while adding a child webfarm. Therefore, to solve it, I used the workaround of excluding web farm during the package import (I unchecked “webFarms” in the Import wizard of IIS Manager).
.NET Framework Mismatch Error
Web Deploy may also throw this error during import: “The versions of the .NET Framework Configuration Provider (machineConfig64) are different on the source (2.0) and destination (4.0)”
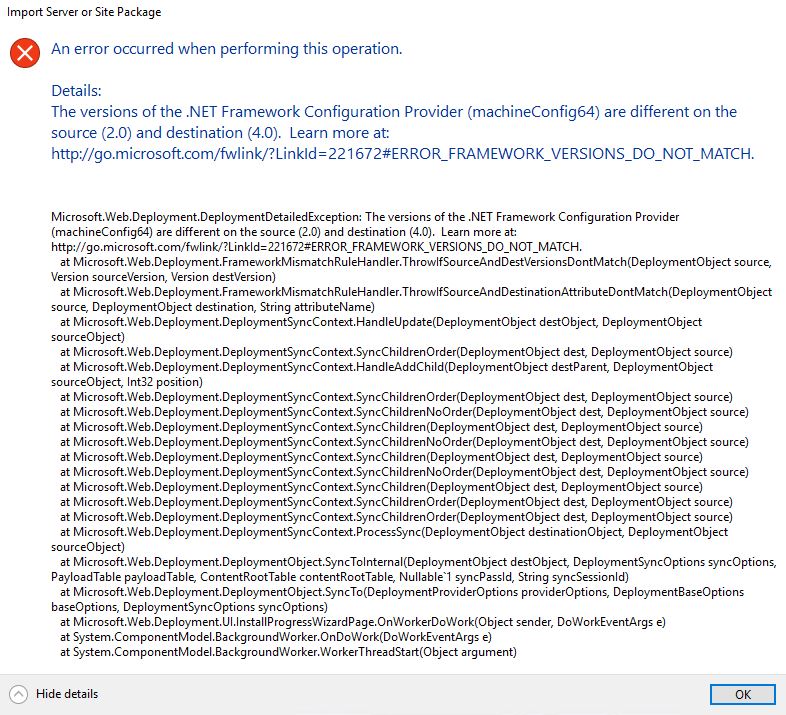
Make sure .NET Extensibility 3.5 is installed in the server so that it can be backward compatible. After installing it, run this command (make sure the zip file path and destination server name are correct):
PS C:\Program Files\IIS\Microsoft Web Deploy V3> ./msdeploy.exe -verb:sync -source:package=c:\packagename.zip,machineconfig32.netfxversion=2,machineconfig64.netfxversion=2,rootwebconfig32.netfxversion=2,rootwebconfig64.netfxversion=2,encryptPassword=#yourpassword -dest:webServer,machineconfig32.netfxversion=2,machineconfig64.netfxversion=2,rootwebconfig32.netfxversion=2,rootwebconfig64.netfxversion=2,computername=destinationservername,password=#yourpasswordYou may come across “Could not reach Web Deploy” error while trying to migrate your site. Here is the solution: Could not reach the Web Deploy endpoint on the specified virtual machine
Error “msdeploy.exe is not recognized as n internal or external command”
You may see this error when you try to run a msdeploy command: ” msdeploy.exe is not recognized as n internal or external command, operable program or batch file”

When you need to run msdeploy, make sure you are in the Web Deploy folder (C:\Program Files\IIS\Microsoft Web Deploy V3). You may need to call it as “.\msdeploy.exe”. Example screenshot is below.

2 thoughts on “How to migrate website between IIS servers using Web Deploy (msdeploy)”
Comments are closed.