IIS websites use all the available CPU power by default. There are application pool settings you can play around if you want to limit the CPU usage or you want to assign specific processors to specific websites.
The settings related to CPU usage are in the CPU section of the application pool Advanced settings:
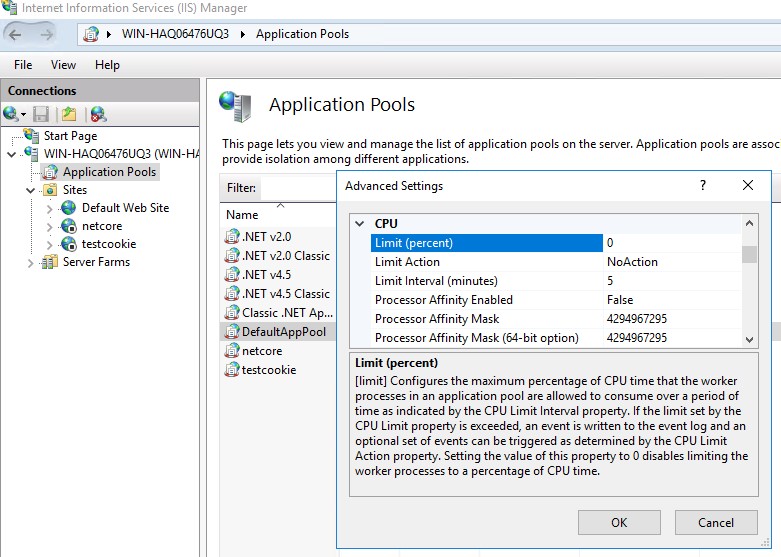
In this post, I would like to talk about the last 3 settings in this window: Processor Affinity Enabled, Processor Affinity Mask, Processor Affinity Mask (64-bit option). For descriptions of all CPU related settings, visit this Microsoft document: CPU Settings for an Application Pool
Limit CPU usage in IIS (Processor Affinity)
Here are a few example scenarios to explain this topic:
Choose 1 core (first core) out of 2
Let’s say you have a two core CPU. You want to use only one of them to run your website. In application pool settings, set the following parameters:
Processor Affinity Enabled = True
Processor Affinity Mask = 1
The logic behind it lays in the binary representation. Processor Affinity Mask is a 32-bit value. Each bit represents a processor (core). A bit set to 1 means that processor should run the website. Here is good reference document: Specifying a Processor Affinity Bitmask
Processor Affinity Mask in the application pool settings is an integer value. In order to find out what number it should be, you should start from binary representation. Then convert it to an integer.
Choosing the first processor means setting the first bit to 1:
00000000000000001Since the binary value above equals to integer value 1, there is no complexity here. Let’s move on the next example.
Choose 4 cores (first 4 cores) out of 8
Imagine that you want to use only the first 4 cores of your CPU power to run your website. What to enter into the Processor Affinity Mask field?
Choosing 4 cores out of 8 cores would look like the binary representation below:
00000000000001111This binary value equals to 15 (1 + 2 + 4 + 8). If you want to use a calculator to make this conversion, check this out: Binary to Decimal converter. You can also use the Windows Calculator in Scientific mode.
So in this example, you should enter 15 into the Processor Affinity Mask field in the application pool settings.
Choose the last 12 cores out of 24
Binary representation would be:
111111111111000000000000This binary set is equal to 16773120 which is the number you should use as the Processor Affinity Mask.
Conclusion
If this is too complicated, feel free to use an affinity mask calculator like this one: CPU Affinity Mask Calculator. There is also a related ServerFault post.
If you find out that your application pool is disabled after these changes, check this post out for the root cause and solution: HTTP 503 Service Unavailable (Application pool has been disabled)